How to Put on Pantyhose: A Step-by-Step Guide
Putting on tights correctly can sometimes be a challenge, especially if you're unsure how to do it without damaging the delicate fabric. Here's a detailed and easy-to-follow guide to help you put on your tights effortlessly and without any problems.
Preparation:
Step 1. Check Your Hands and Nails:

Before you begin, it's important to make sure your hands and nails are smooth. Any rough edges or sharp nails can easily damage the tights. Consider applying a little hand cream to soften any rough spots.
Using special gloves is also a real "panty safer" for many women.
Step 2. Choose a Clean and Dry Environment:
Make sure you have a clean, dry place to put on your tights. Damp or dirty surfaces can damage or stain the fabric.
Step 3. Remove Jewelry:
Jewelry such as rings, bracelets, or watches can snag on the pantyhose. Remove them before you begin to prevent accidents.
Steps to Put on Pantyhose :
Step 1. Sit Down for Better Control:
It can be helpful to sit down while putting on the tights. This gives you more control over the fabric than standing and reduces the risk of damage. With new tights, gently stretch the legs lengthwise to make them easier to put on.
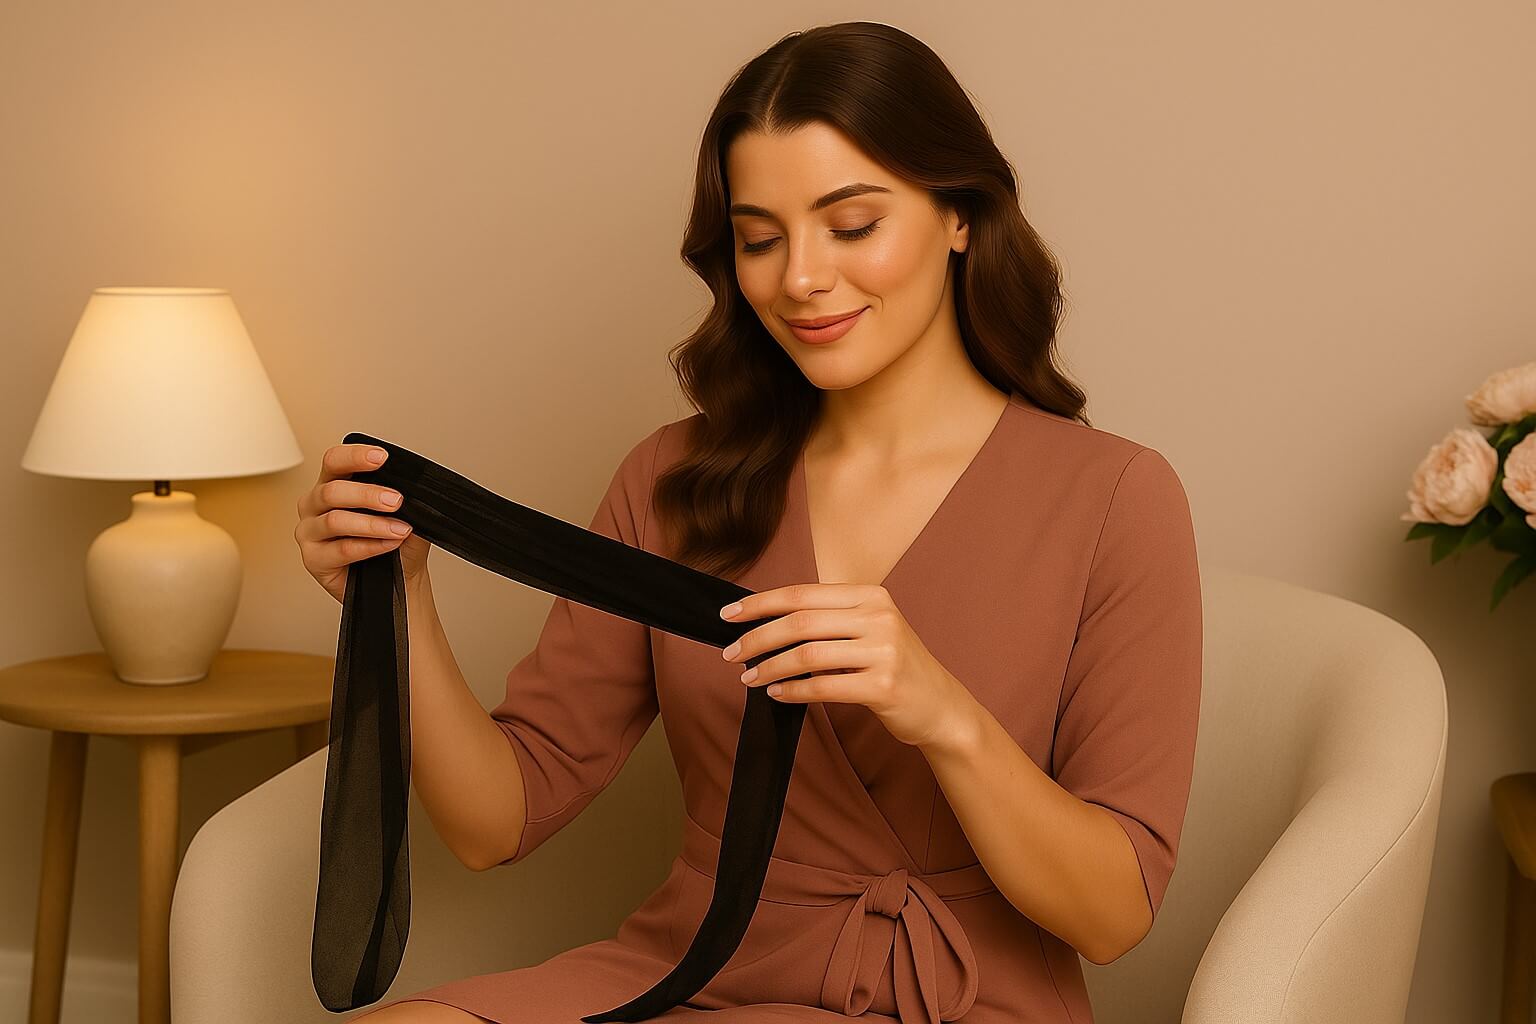
Step 2. Roll up the Panty to the Toes :
Start by rolling one leg of the tights all the way up to your toes. This means gently taking the tights in your hands and rolling them down until you reach your toes. This helps you pull the tights on evenly without putting too much tension in one spot.
Step 3. Place your Toes in the Panty:
Carefully place your toes in the rolled-up tights, making sure they fit snugly around your feet. Especially with visibly reinforced toes, you can clearly see how they should fit around your toes. Now slowly pull the tights up to your ankle, carefully adjusting the fabric to prevent wrinkles and creases.
Step 4. Pull the Panty up to your Knee:
Once the first foot is inside the tights and the fabric has reached your ankles, pull the tights up to your knees. Do this gradually and evenly to prevent the fabric from becoming too tight or tearing.
Step 5. Repeat for the Other Leg:

Repeat the process for your other leg. Roll the tights up to your toes, place your foot inside, and pull the tights up to your ankle.
Step 6. Pull the Panty up to your Knee:
Once the second foot is inside the tights and the fabric is pulled up to your ankle, pull the tights up to your knee. Do this gradually and evenly to prevent the fabric from becoming too tight or tearing.
Step 7. Stand:
Some women prefer to remain seated at this point, but others prefer to stand from this point so they can pull the panty up more easily.
Step 8. Pull the Panty Up Further:
Now slowly pull the tights up your thighs and hips. Make sure the fabric is evenly distributed and there are no wrinkles or creases. This helps ensure a comfortable and smooth fit.
Step 9. Adjust the Waistband:
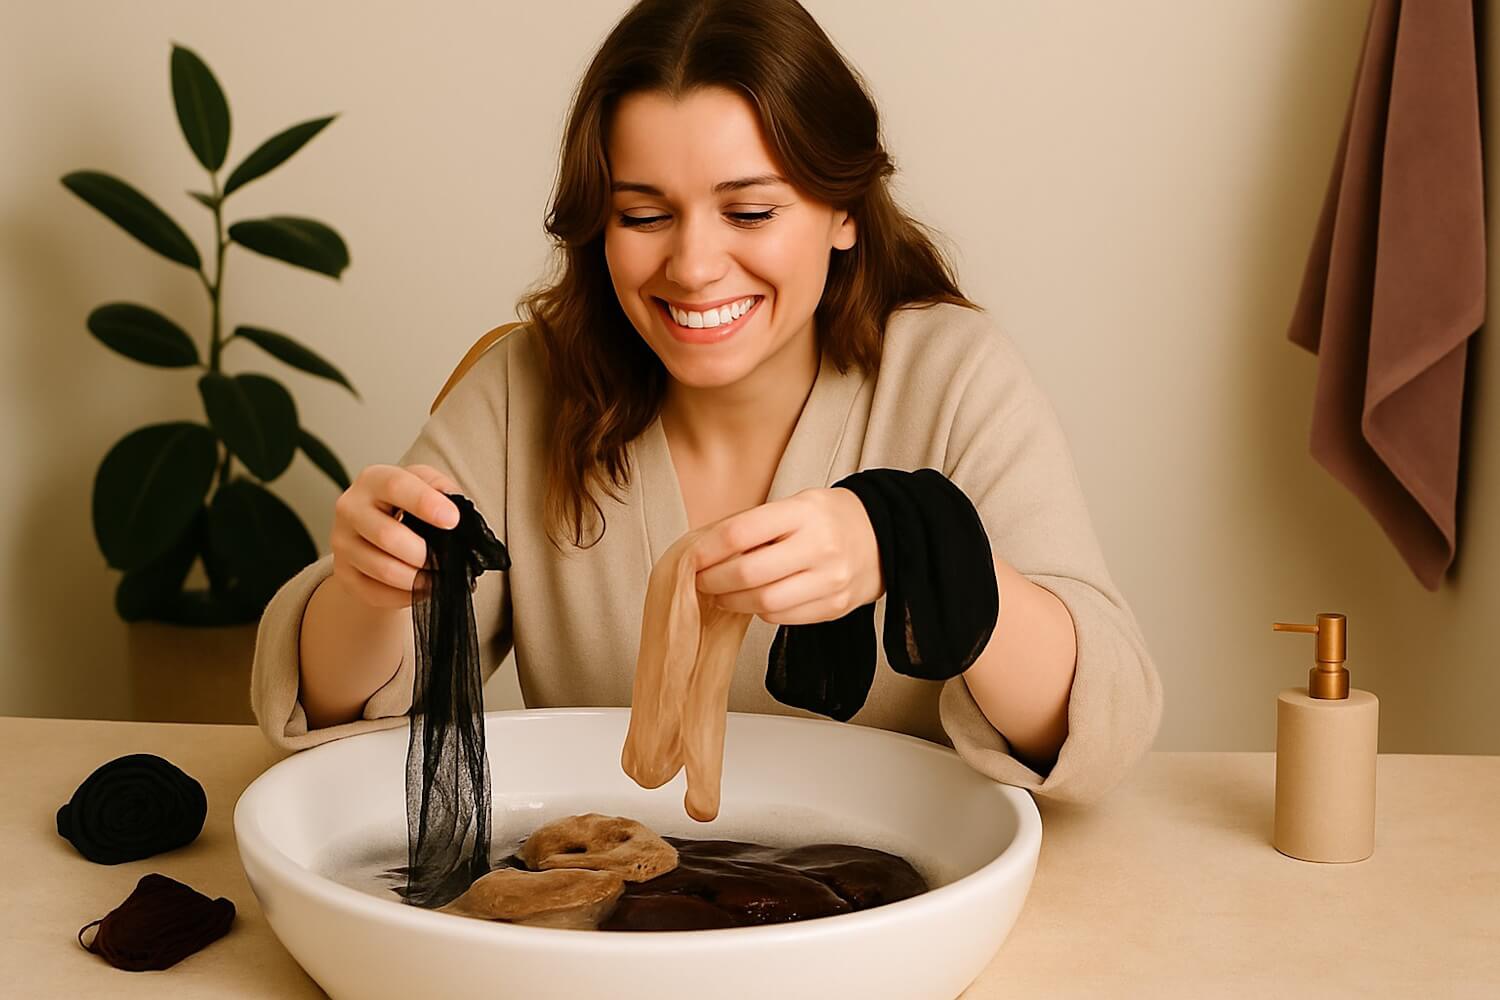
Pull the tights up to your waist and adjust the waistband for a comfortable fit. Make sure the waistband isn't too tight or too loose. By following these steps, you'll be able to put on your tights easily and without any problems, while also extending the life of the delicate fabric. Enjoy the comfortable and stylish look that a well-put-on pair of tights can provide! This short video shows an easy way to put on your tights and also how to wash them:
How to Put on a Pair of Hold-Up Stockings: A Step-by-Step Guide
Hold-up stockings, also called stay-ups, are an elegant and seductive addition to your wardrobe. They stay in place without garters thanks to a silicone band at the top. Putting on hold-up stockings correctly is essential to ensure they stay put and feel comfortable. Follow these simple steps to put on your hold-ups without any hassle.
Preparation :
Step 1. Check Your Hands and Nails:
Before you begin, it's important to make sure your hands and nails are smooth. Any rough edges or sharp nails can easily damage the tights. Consider applying a little hand cream to soften any rough spots.

Step 2. Choose a Clean and Dry Environment:
Make sure you have a clean, dry place to put on your tights. Damp or dirty surfaces can damage or stain the fabric.
Step 3. Remove Jewelry:
Jewelry such as rings, bracelets, or watches can snag on the pantyhose. Remove them before you begin to prevent accidents.
Steps to Put on Hold-Up Stockings
Step 1. Sit Down for Better Control:
It can be helpful to sit down while putting on the hold up stockings as this gives you much more control than in a standing position.
Step 2. Roll up the stocking to the toes:
Start by rolling one stocking all the way up to your toes. This means gently taking the stocking in your hands and rolling it down until you reach your toes. This helps you pull the stocking on evenly without putting too much tension on one spot.
Step 3. Place Your Toes in the First Stocking:
Carefully place your toes inside the rolled-up stocking, making sure it fits snugly around your foot. Slowly pull the stocking up to your ankle, carefully adjusting the fabric to prevent wrinkles and creases.

Step 4. Pull the Stocking Up to Your Knees:
Once your foot is in the stockings and the fabric has reached your ankles, pull the stockings up to your knees. Do this gradually and evenly to prevent the fabric from becoming too tight or tearing.
Step 5. Pull the Stocking Up Further:
Slowly pull the stocking further up your thighs. Make sure the silicone band at the top fits snugly against your skin. This will keep the stockings in place and prevent them from slipping down.
Step 6. Adjust the Silicone Band:
Make sure the silicone band lies flat against your skin without curling. This ensures the stockings stay in place. Avoid using body lotion or oil on your legs, as this can reduce the grip of the silicone band.
Step 7. Repeat for the Other Leg:
Repeat the process for your other leg. Roll the stocking up to your toes, place your foot inside, and pull the stocking up to your ankle.
Step 8. Pull the Stocking Up to Your Knees:
Once your second foot is in the stocking and the fabric has reached your ankles, pull the stocking up to your knees. Do this gradually and evenly to prevent the fabric from becoming too tight or tearing.
Step 9. Pull the Stocking Up Further:
Slowly pull the stocking further up your thighs. Make sure the silicone band at the top fits snugly against your skin. This will keep the stockings in place and prevent them from slipping down.
Step 10. Adjust the Silicone Band:
Make sure the silicone band lies flat against your skin without curling. This ensures the stocking stays in place. Avoid using body lotion or oil on your legs, as this can reduce the grip of the silicone band.
Garter stockings:
 The whole process is of course exactly the same for a pair
 Discover the best ways to care for your tights at: How to wash tights? .